This is part one of my blog series where I will showcase Azure Cognitive Services integration within Power BI.
In this post, I will focus on Integrating the Text Analytics API which is part of the Azure Cognitive services Language offering.
Cognitive Services can be used by BI developers to add AI insights to their analysis. It consists of five major categories: Language, Vision, Speech, Search and Decision, each one containing various services.
The Text Analytics API offers natural language processing over raw text, and includes four main functions: sentiment analysis, key phrase extraction, language detection, and entity recognition. No training data is needed to use this API; The models are pre-trained by Microsoft natural language technologies which guarantees a high level of quality for a lot of use cases.
I will leverage “sentiment analysis” to create a sentiment score over a customer reviews column.
Why should we perform sentiment analysis?
Nowadays more and more content is created on various Social Media platforms and the clients are becoming more vocal and honest about their experience – what improvements they would like to see on some product/service, what they like or dislike about them, what their overall experience with a customer support or delivery was, etc.
Having this in mind, a lot of companies increased their interest in Sentiment Analysis and its business application.
Nowadays the clients are looking for business insights which the sentiment analysis can offer.
When we talk about sentiment analysis, we’re talking about knowledge about consumer emotions and opinion of a brand.
Sentiment analysis is the automated process of understanding an opinion about a given subject from written language.
This technique allows companies to understand if customers are positive or not quite happy about their products or services.
They are able to get key insights and automate business processes. Having these insights on time, companies can act on them quite easily.
For example, they can respond in a timely manner to negative reviews or reply to a positive review by saying thanks. Another application field of the sentiment analysis is social media brand monitoring, customer support improvement or uncovering brand influencers.
Loading the data in Power BI & Preparing it for analysis
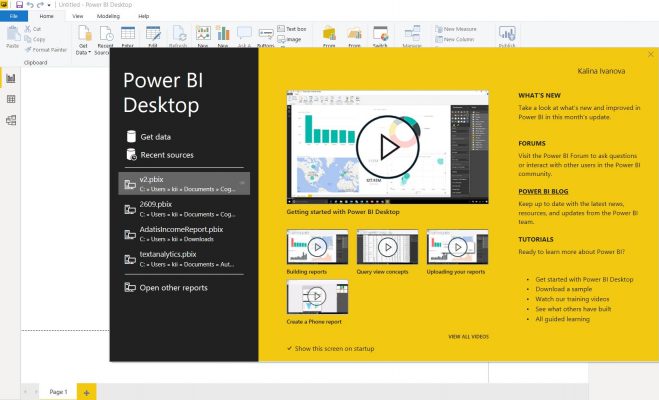
Let’s start by opening the Power BI Desktop application.
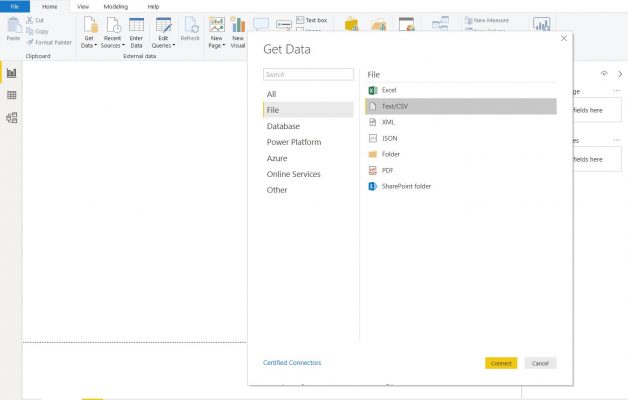
Go to the Get data tab where you will see different data source connection types. Choose the option “Text/CSV”
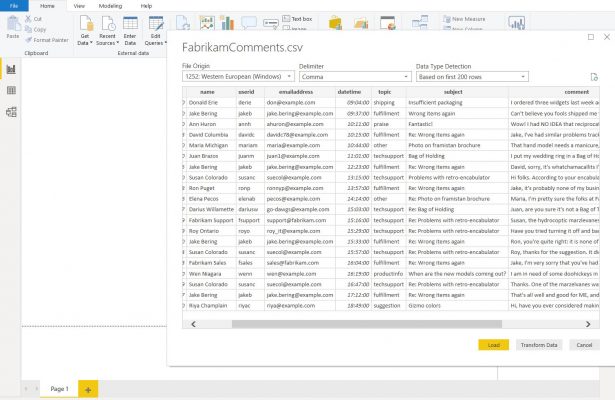
For this demo I will use one of Microsoft’s fictional companies Fabricam data set which contains customer reviews of their service for fulfillment, technical support, praise, product info, shipping, suggestion and others.
Click on the Transform Data button. This will open the Power BI Edit Query window.
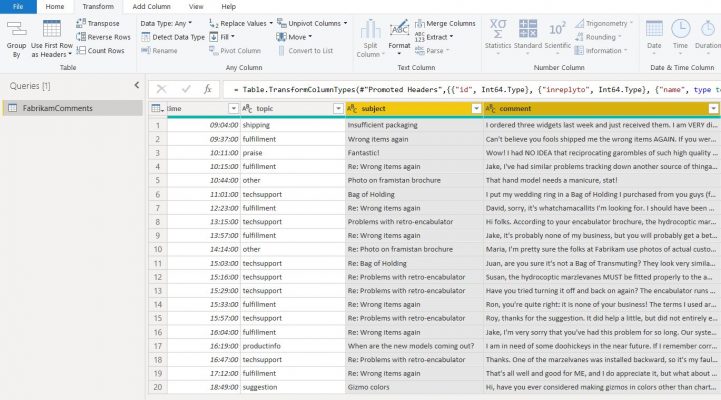
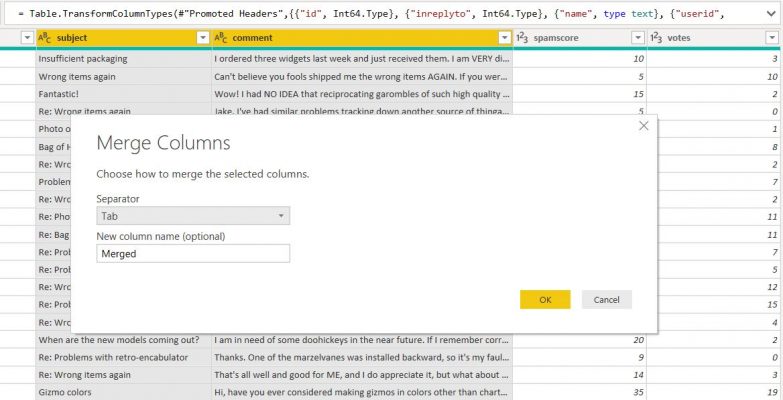
In order to achieve better sentiment score, we will merge the “Subject” and “Comment” columns.
The Power BI merge option is under the Transform tab, in the text column section.
We choose an appropriate separator and Name for our new column.
Setting up a Cognitive Services resource
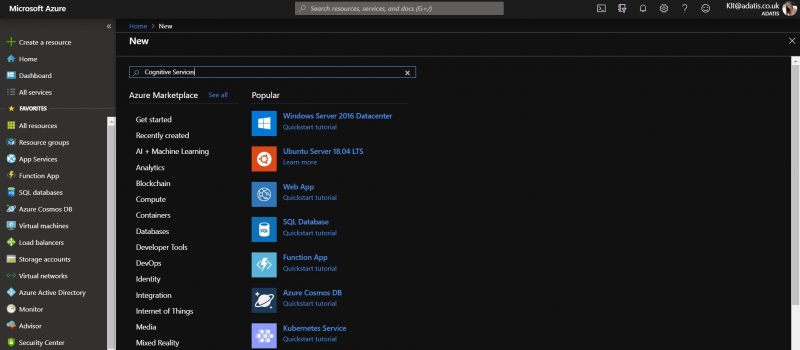
Next we need to setup a Cognitive Services Text Analytics Resource. In order to do this, sign in to your Azure Portal, navigate to ” + Create a new resource” and type “Cognitive Services” in the Marketplace search box.
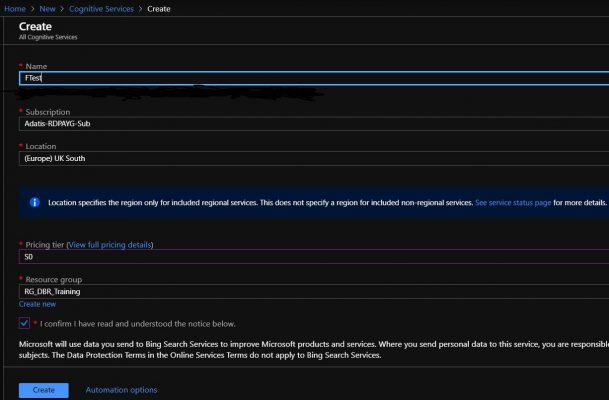
We enter Name, Subscription, Location, Pricing tier and Resource group for or Cognitive services resource as shown on the screenshot below.
The Text Analytics API can be purchased in S0 to S4 tiers. Each unit of a tier comes with included quantities of API transactions.
Here you can find out a detailed pricing description. When you register for a first time, you have 7 days free trial. Microsoft Cognitive Services will all you to make 5000 calls to the service per month. Each call can be a batch of 1000 texts, which means that you can analyse 5 M comments monthly.
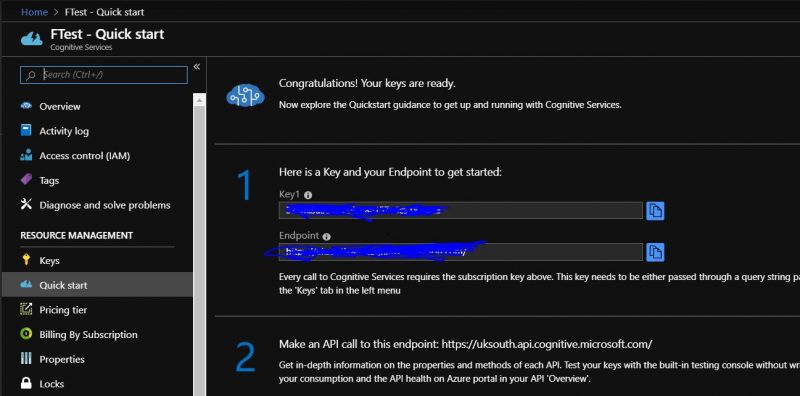
Once you have created a Cognitive service resource, navigate to its Quick start menu. As a result, this will bring you to a new screen that contains your unique API Key and Endpoint.
Take a copy of your API key as you will need this later in Power BI.
Before jumping into the sentiment analysis, it is good to review the language and region support for the Cognitive Services Text Analytics API.
Here is the official Microsoft documentation for your reference.
Generating a Sentiment Score
Now we have our data loaded in Power BI Desktop and our Cognitive Services resource. Next, we need to integrate the Text Analytics with Power BI by using a custom Power BI function.
In the Query section of the Power BI Editor window, right click and select New Query, then Blank query. You should see such blank field where we will insert a script.
I took the script from Microsoft’s official documentation and changed the assigned API key and endpoint with the ones we just created above.
The script is accepting a text parameter, converting it into a JSON format, sending it to Cognitive services by using API key and Endpoint and converting the returned JSON value back into a text field.
= (text) => let
    apikey      = " Insert your API Key here ",
    endpoint    = " Insert your Endpoint here ",
    jsontext    = Text.FromBinary(Json.FromValue(Text.Start(Text.Trim(text), 5000))),
    jsonbody    = "{ documents: [ { language: ""en"", id: ""0"", text: " & jsontext & " } ] }",
    bytesbody   = Text.ToBinary(jsonbody),
    headers     = [#"Ocp-Apim-Subscription-Key" = apikey],
    bytesresp   = Web.Contents(endpoint, [Headers=headers, Content=bytesbody]),
    jsonresp    = Json.Document(bytesresp),
    sentiment   = jsonresp[documents]{0}[score]
in  sentiment
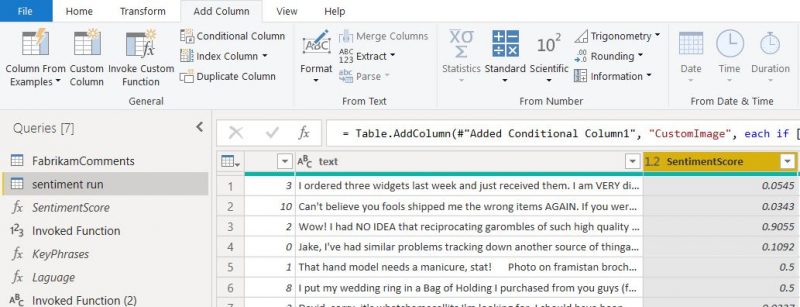
After executing the script, we invoke the newly created function created by us on our text column.
Next, in order to obtain the score for each comment, we click on our data table, add a new column and choose the “Invoke Custom Function” from the Query Editor menu. I renamed the newly created column to “SentimentScore”.
The score we receive will be a decimal number between 0 and 1. A value of 1 or close to 1 indicates positive sentiment whilst closer to 0 stands for a negative one. Remember to change the data type of the Sentiment Score accordingly.
After that, to make the obtained sentiment score more usable for our report, I create a conditional column, called “CustomScore”. Now I am going to set up a conditional column. Based on the sentiment score, the column will separate the score into three categories – “positive”, “negative”, and “neutral”. For the categorization, I will categorize sentiment score <= 0.30 as negative, <= 0.55 as Neutral and > 55 as Positive.
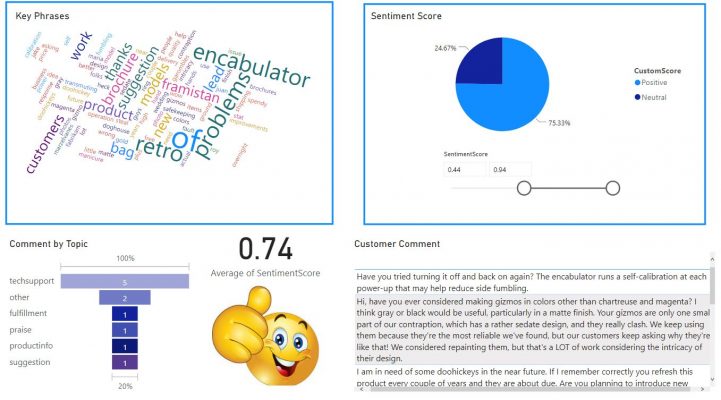
Sentiment analysis Visualization
As a final step I am adding a sample report visualization for the performed Sentiment analysis.
Hope you enjoyed my first post on Cognitive services!
In my next blog I will showcase how to generate Key phrases from text and detect its language by using functions of the Text Analytics API.
Stay tuned!

