This Blog is part 2 of a 2 blog series concerning backing up your SQL Server databases to Azure Blob storage. This part details the basic setup of the SQL Server Managed Backups feature.
With automating backups you need to schedule jobs as part of a strategy and write custom scripts to maintain these backups – there is currently no way to delete old backups. The SQL Server Managed Backup service allows you to specify a retention period which can be between a minimum of 1 day and a maximum of 30 days. Other than the storage location there is nothing else to configure, at least when getting started and there are some advanced options available including encryption and a custom backup schedule (2016).
The frequency and the type of the backups, by default, is determined by the workload. A full backup takes place if the managed backup service is enabled for the first time, log growth is equal to or larger than 1GB, a week has passed since the last full back up or if the log chain is broken. Transaction log backups happen if log space is 5MB or larger, 2 hours has passed since the last log backup and any time the transaction log backup falls behind the full database backup.
With the custom backup schedule you can specify your own frequency. Full backups can be set to daily or weekly. Log backups can be set with minutes or hours. Weekly backups can be taken on the day of your choice and the start time for any backup is also configurable. Finally you can allow a maximum amount of time for a backup to complete in.
With SQL Server 2014 the maximum size allowed for a backup is 1TB because the storage used (Page Blob), has this limitation. 2016 uses backup to block blob which has a maximum size of 200GB but through striping allows up to 12TB. Block blobs cost less to store data than page blobs. If using 2014, there is a requirement for databases to be in full or bulk logged models as simple is not supported. However simple recovery model is supported for 2016. System databases are not supported in SQL Server 2014 but they are for SQL Server 2016.
Create an Azure Storage Account
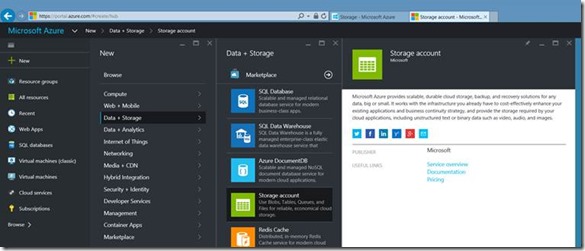
The first prerequisite is to create an Azure Storage Account. You need this regardless of whether you choose to use managed backups or whether you use your own strategy using SSIS or scripting.
Create a Blob Container
After your storage account has been created you should then create a blob container. A container is a means of providing a grouping for sets of blobs. Blobs have to be in a container. There is no limit to the number of blobs you can have inside a container and no limit to the number of containers in a storage account so you can go to town with your organising of blobs and their containers.
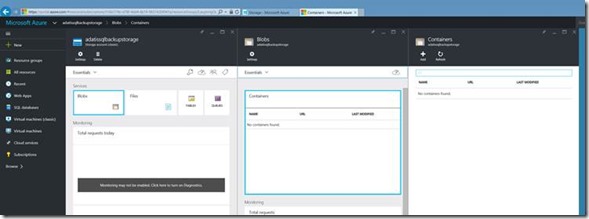
In the Azure Portal if you select the storage account you just created you can create a container by navigating via Blobs > Containers. Here is where you can add the container. You must give it a name and also an access type. The choices here are Private, Public Blob & Public Container.
- Private
- No anonymous access and a shared access policy is required to get in.
- Public Blob
- Container access is restricted and blobs within it won’t be listed if anonymous access is attempted. However blobs themselves can be anonymously accessed via a URL directly.
- Public Container
- Container and all the blobs in it are open to anonymous access. All blobs within the container can be listed and viewed by anyone.
The access policy can be changed after the container is created. I created this one with the Private setting.
Create a Shared Access Signature
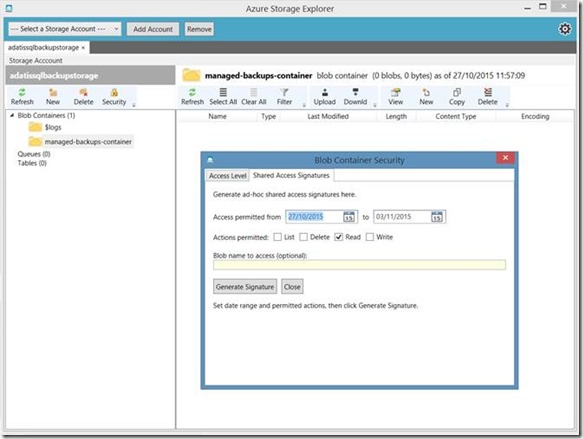
Next if you wish to allow access to your private blob container then you need a Shared Access Signature (SAS). You can’t do this via the portal and have only two options: programmatically through PowerShell or by using Azure Storage Explorer. Below you can see that I am using Azure Storage Explorer. Add your storage account and navigate to your containers. Highlight your container and click security. Here you can generate the SAS. Give it full permissions so that the SQL credential you will create afterwards is able to carry out the backups.
You can also specify an expiry on the SAS. The SAS will be provided together with a URL so separate out the URL for the container from the SAS token.


